Lesson 4:

What is to dimension a drawing?
To dimension a drawing means to indicate the size of each of its parts. There are plenty of cases in which dimensioning a drawing is necessary in order to know now, for example, how to build it (if it is a building) or how to manufacture it (if it is an object).
Imagine that you want to hire a carpenter to make a table for your room. If you do not know the measurements of each part of the table, most probably the table will not fit properly in the space of the room. That is why it is useful to communicate the necessary information through a dimensioned drawing like the one below:
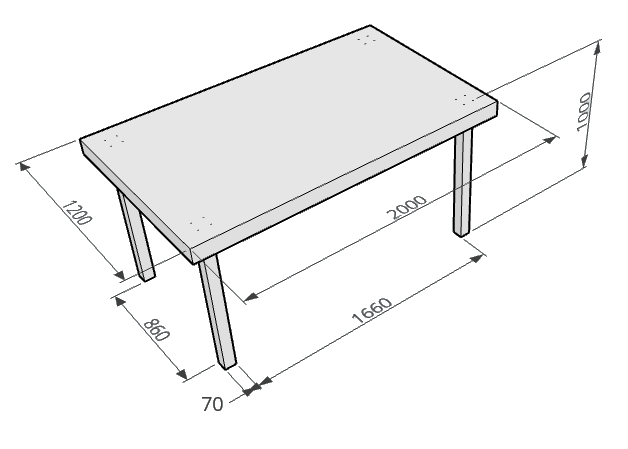
(Original image)
Dimensioning also plays an important role when manufacturing any kind of product. The drawing below shows a connecting rod from a car engine. The engine from any vehicle is a very complex device made of hundreds of different parts that must fit together perfectly for the vehicle to work properly. That is why the dimensions of each of the parts must be very accurate:
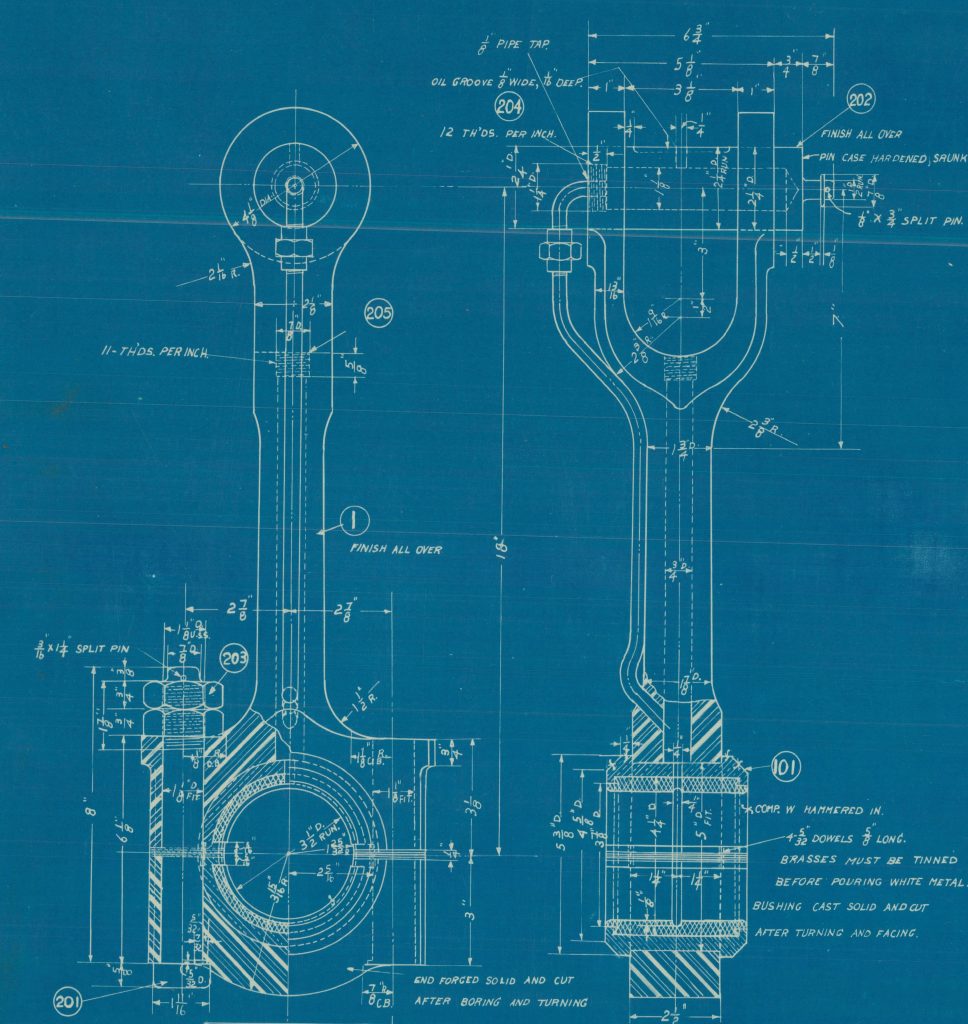
(Modified from: National Archives and Records Administration, Wikimedia Commons)
Another field in which dimensioning is essential is graphic design. People who work to design logos like the one below (of the operating system Android) need to dimension their drawings to be able to reproduce their designs accurately over and over again. Can you think of how many dimensions must be indicated to perfectly reproduce this drawing? (saw it here).

(Google Inc., CC BY 3.0, Wikimedia Commons)
In order to dimension a drawing properly some rules are used all around the world that must be followed. This allows people from different countries to understand house plans or any other kind of drawing no matter who has done it.
Dimensioning rules:
Now we are going to see the seven rules that you must know to correctly dimension your drawings:
1) Dimensions must be indicated on top of a double arrow, called dimension line. The arrows of the dimension line must be thin and filled in.
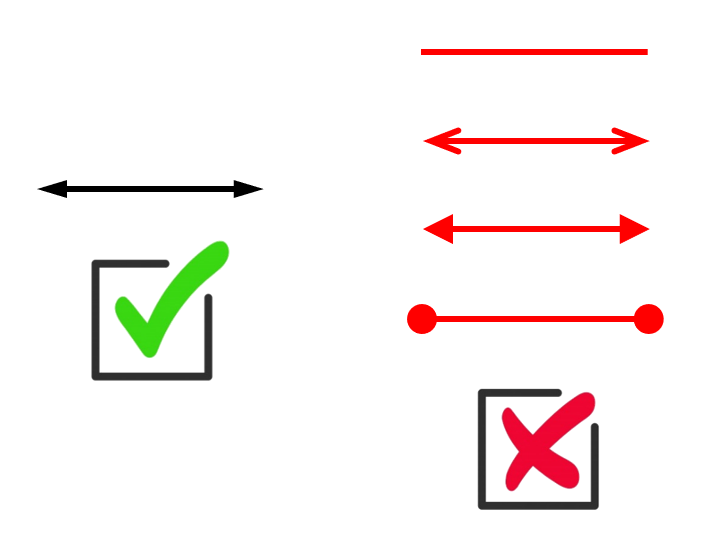
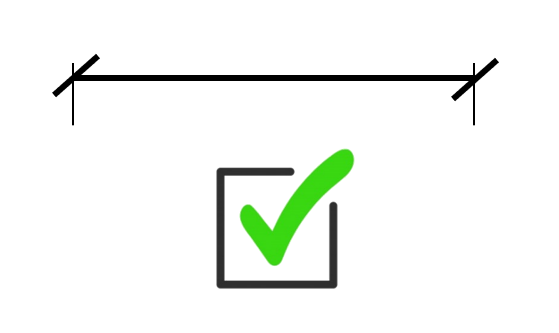
2) In architectural plans it is common to use another kind of dimension lines without arrows. This is also correct, though it is not common when dimensioning small objects:
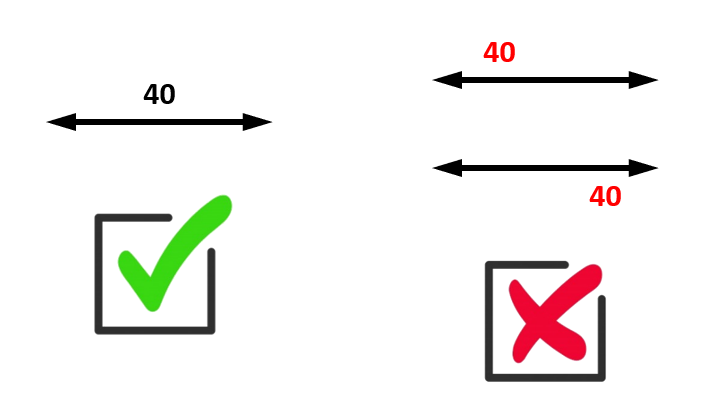
3) The number that indicates the length of the side is called dimension. And must be centered in the dimension line.
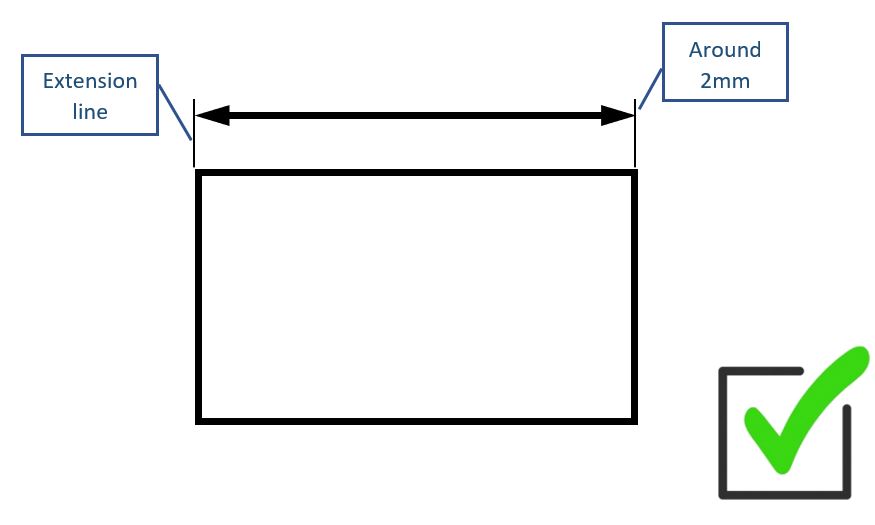
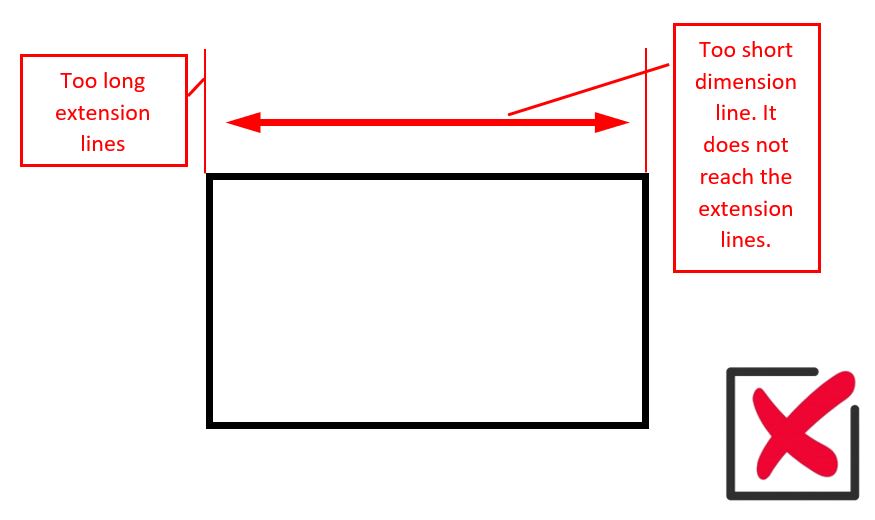
4) The dimension line must be as long as the side of the drawing that is being dimensioned, no longer, no shorter. It is recommended to draw two thin lines at each side of the dimension line that must exceed the dimension line around two millimeters. Those lines are called extension lines:
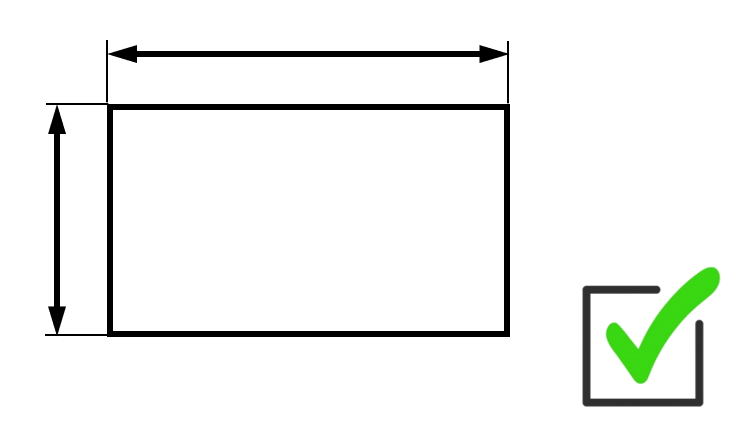
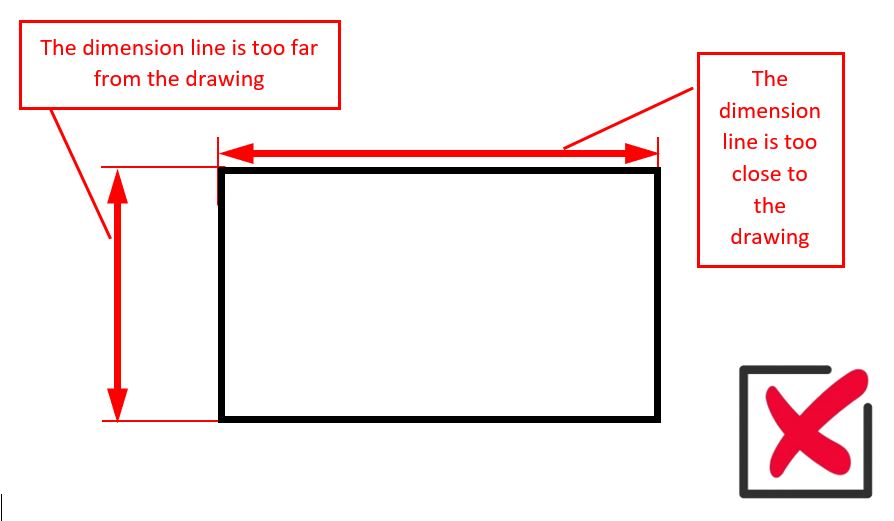
5) The dimension line must be placed at a distance of around 8mm from the side that is being dimensioned. It is not too important if that distance is not exactly 8mm, but you should avoid drawing the dimension line too close or too far from the drawing.
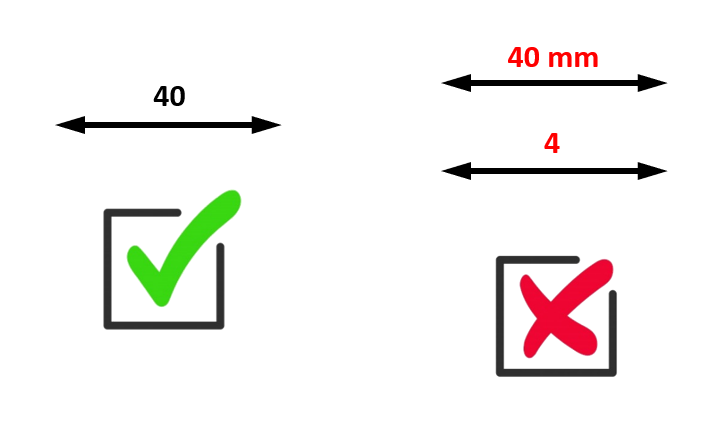
6) The dimension must be expressed in millimeters but you must not write the abbreviation «mm». So, if a side has a length of 4cm (as in the example below) a 40 must be written on the dimension line (not a 4!).
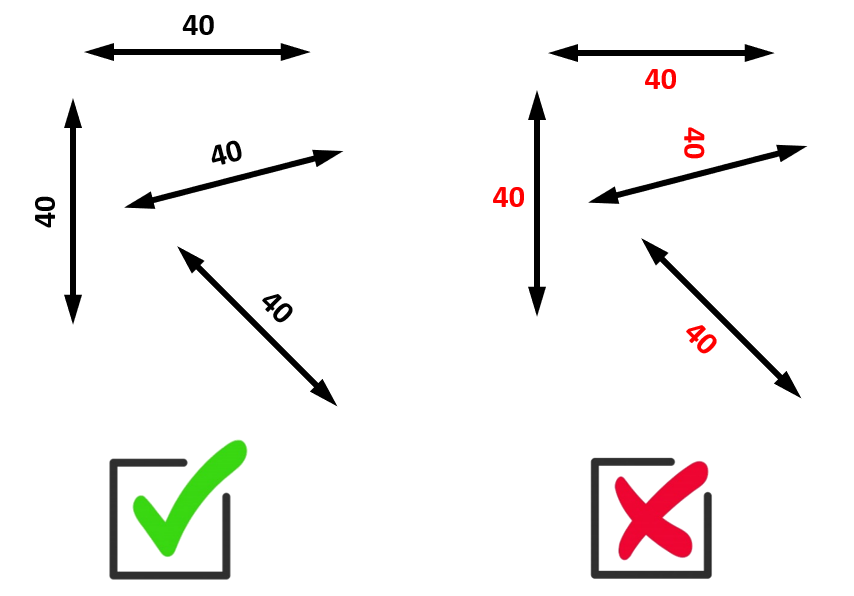
7) The dimension will always be placed on top of the dimension line both if it is horizontal or if it is slanted. In the case the dimension line is vertical the dimension will be written on the left but rotated as if it was on top of the line:
8) Finally, there is a rule, probably the most difficult to apply one, that says this:
The number of dimensions indicated must be the necessary amount to know each of the lengths of all the sides of the drawing. That means that if a dimension is not necessary because it could be calculated by adding up or subtracting some of the other dimensions, you must not write it.
Let’s see some examples to understand it better.
In the following rectangle the length of its base and the length of its height must be indicated to know all its dimensions.
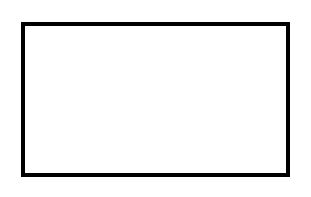
There is not only one way to dimension this drawing. The four examples below are all perfect:
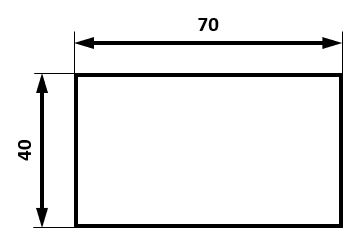
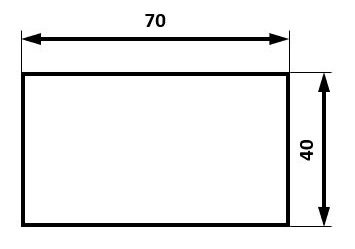
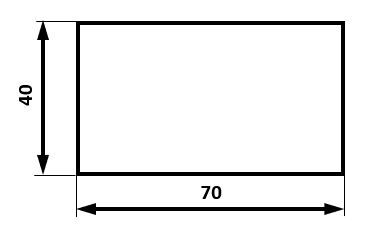
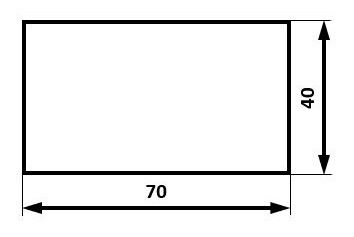

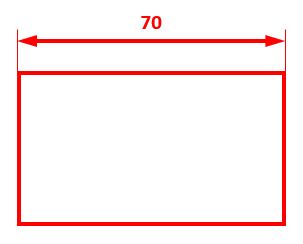
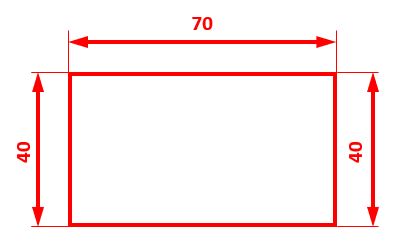
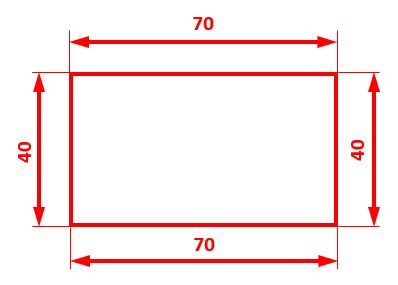
However, the following examples are all wrong for one reason or another. In the first two cases, one of the sides of the rectangle is not dimensioned while in the last two examples there are more dimensions than necessary:
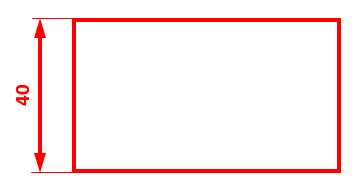

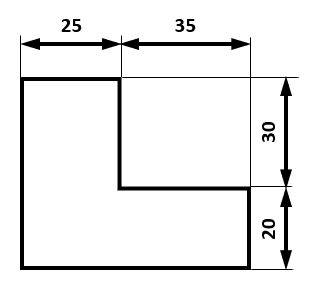
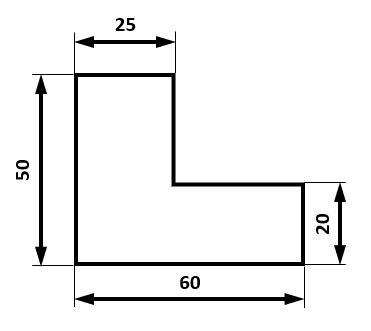
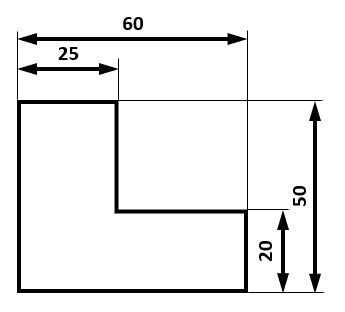
In this other case, more dimensions must be written for the drawing to be perfectly defined. Specifically, four dimensions are required, no more, no less, to dimension the drawing properly. However, those four dimensions might be chosen in different ways. In fact, the four examples below are all correct because in all the cases it is possible to calculate the length of those sides that have not been directly dimensioned.