Index:
1. How to change language and sign in to Tinkercad.
2. Adding shapes and changing its dimensions and color.
3. How to rotate a shape and move it up or down.
4. How to group several shapes and make holes.
2. Adding shapes and changing its dimensions and color.
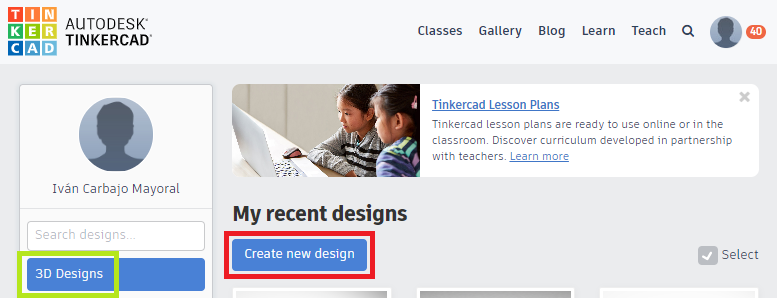
To start drawing with Tinkercad click on 3D designs and then on Create new design:
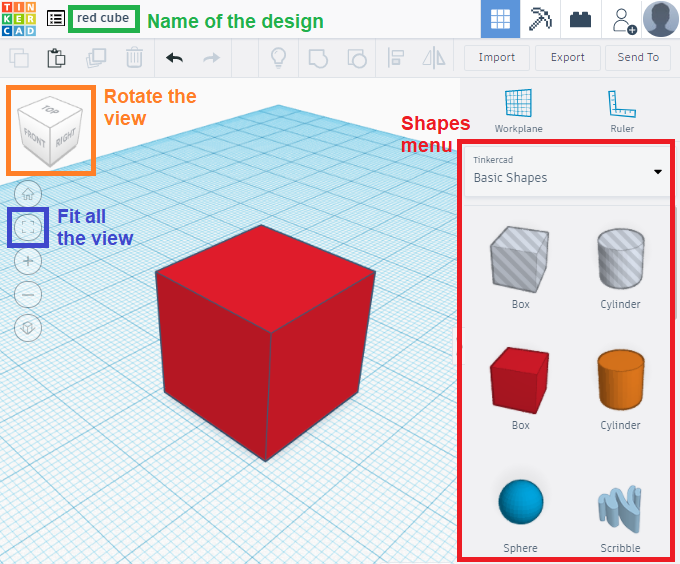
in the image below you can see the main parts of the software:
- Green box: where you can change the name of your design.
- Orange box: allows you to rotate the view of your design.
- Blue box: will center the view on your model.
- Red box: is the menu with the shapes that can be dragged to the grid (floor) to create your designs.
In the image below you can see how a box has been added to the grid:
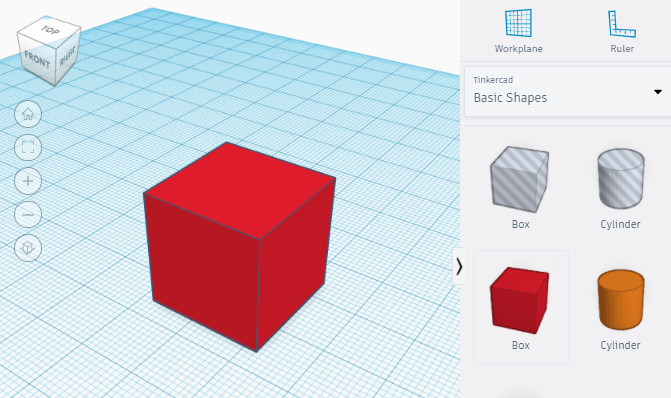
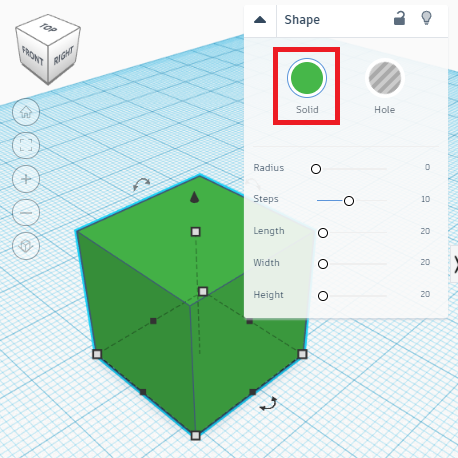
The default color for boxes is red, but in can be easily changed by selecting the shape and choosing a color from the Solid button:
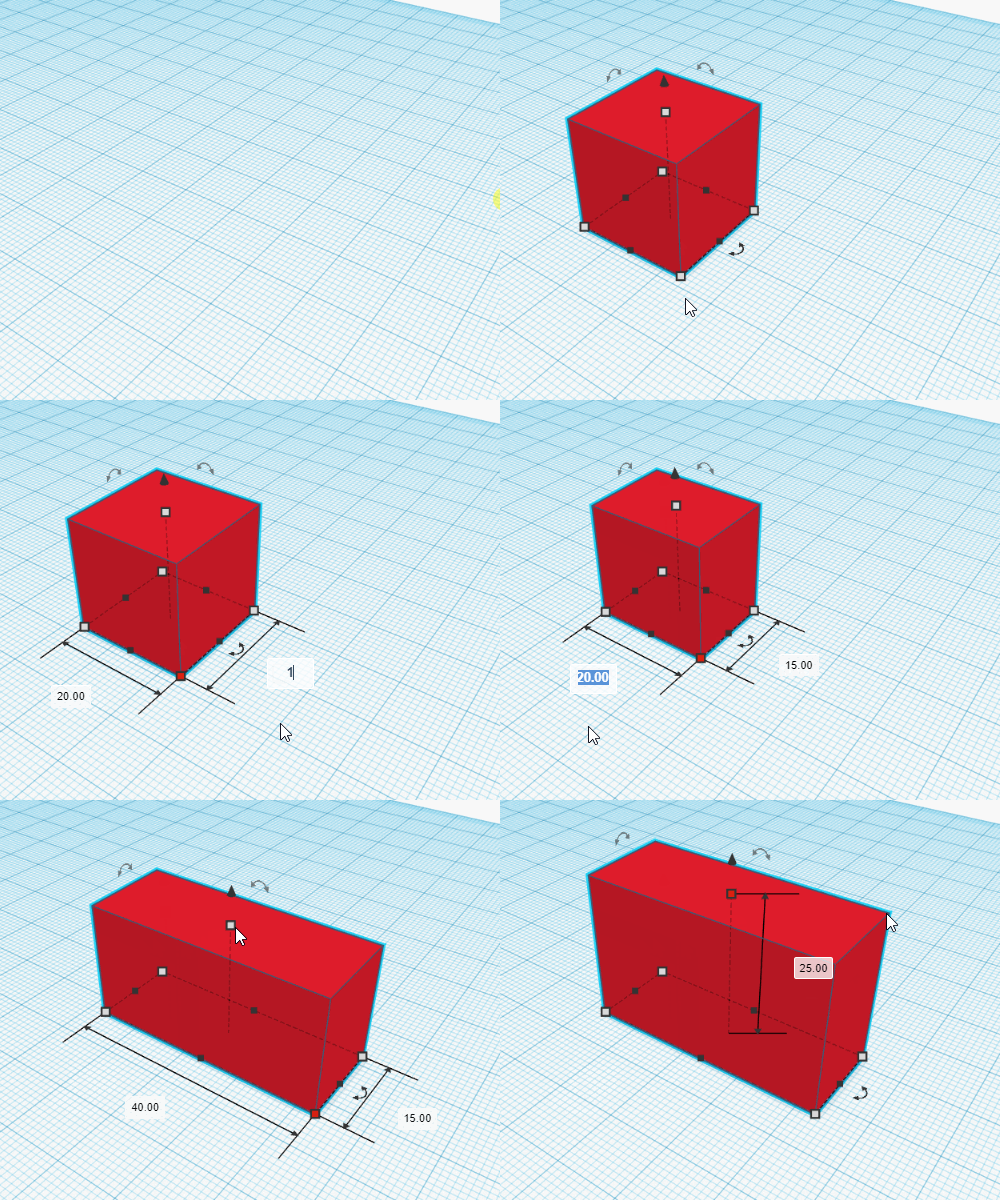
The next thing we are going to learn is how to change the dimensions of a shape. To do so you must select the shape by clicking on it and then click on one of the tiny white squares that appear. In the gif below you can see how the length, the width and the height of the box have been changed, transforming it from a cube to a prism: